Assembly Instructions
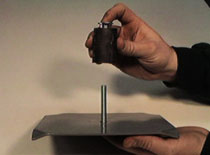
Assemble Base Pad Assembly
Insert bolt through base plate, slide rubber snubber over bolt, attach 4-prong T-nut.
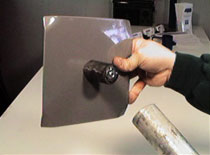
Insert the completed assembly into 1 1/2" pipe.
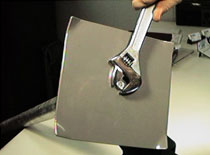
Then tighten with a 9/16th wrench.You should only tighten until snug. Otherwise you will damage the rubber snubber in the pipe. Repeat with all pier legs.
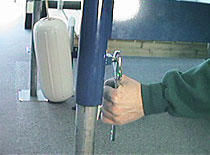
Construct Pier
Fit stands over completed legs and adjust to an approximate height. Complete all supports in this manner.
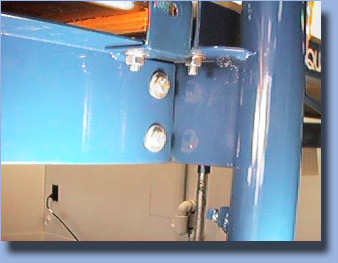
If an "L" or "T" section is being installed, the third leg bolts to a special stand at the end of your pier.
Note: a 3rd leg has only one leg.
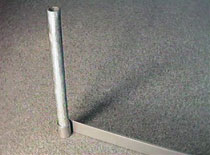
Choose a desirable starting point on your shoreline. Place the Shore Anchor on the shore, and drive the one inch pipe into the ground to secure the starting position.
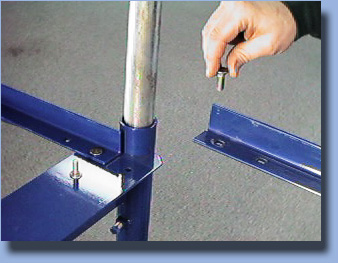
Using the flat headed rail bolt, start two rails from the shore anchor. Connect continuing sections by using the square hole to one hole on each standard support.
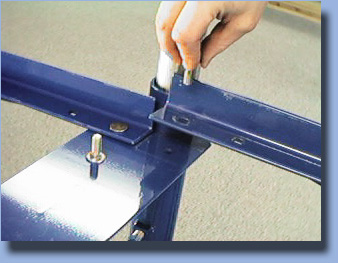
Connect them to the first stand. Be sure the flat washer is behind the nut, and tighten only slightly. By continuing with each additional section in this manner, the pier frame will be finished.
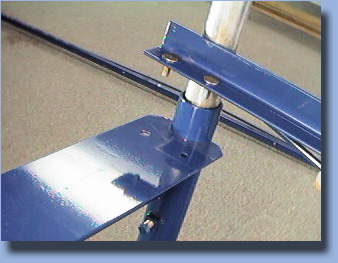
At the end of the straight walk section of the pier, use both holes on the same support.
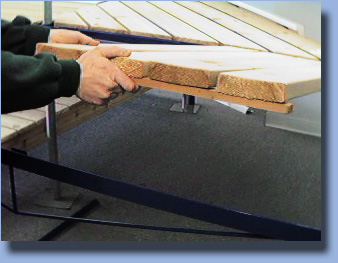
Lay the deck pallets on the rails. Watch for a continuous tight fit.
Level and square all components, then go back and tighten all hardware. Be sure the set nuts on all supports are fully tightened. Check all work to ensure a safe and quality job.

